ThePodcastGuy is a popular UK podcaster and is looking to move one of his shows to video and has been challenging me with some good questions!
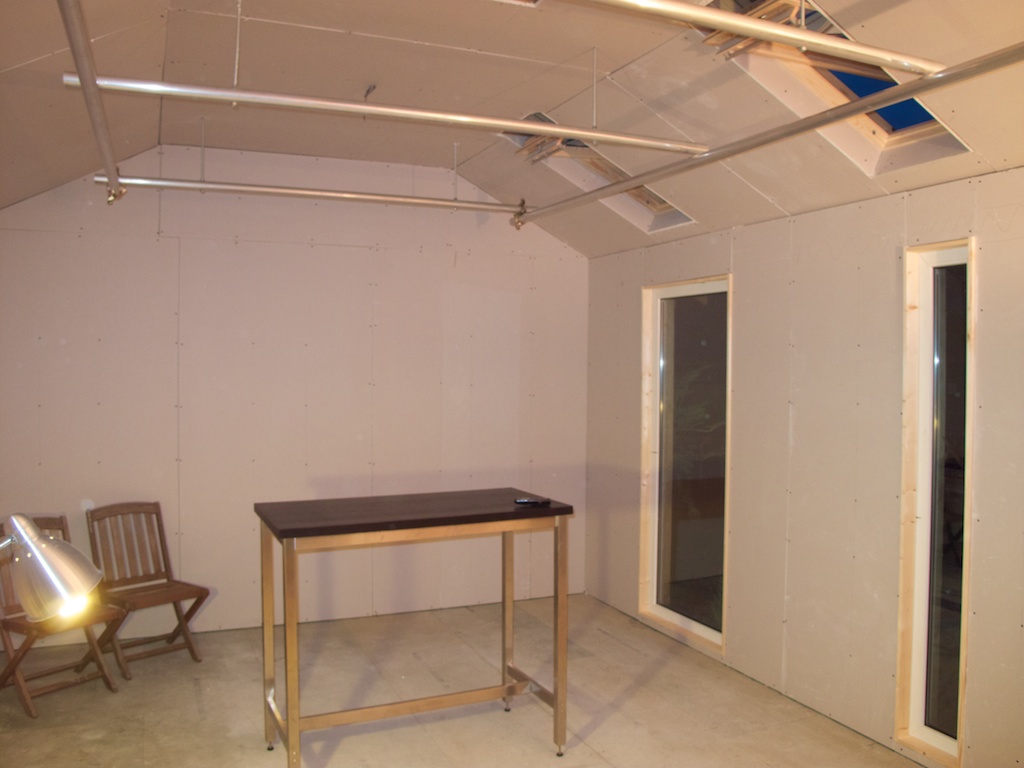
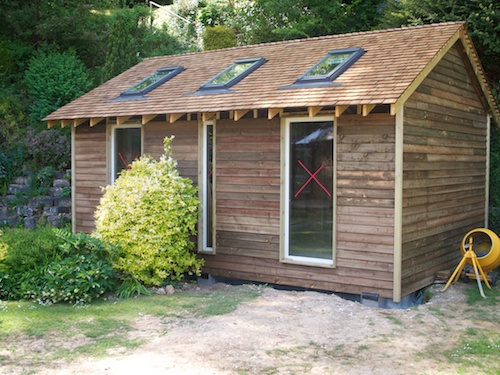
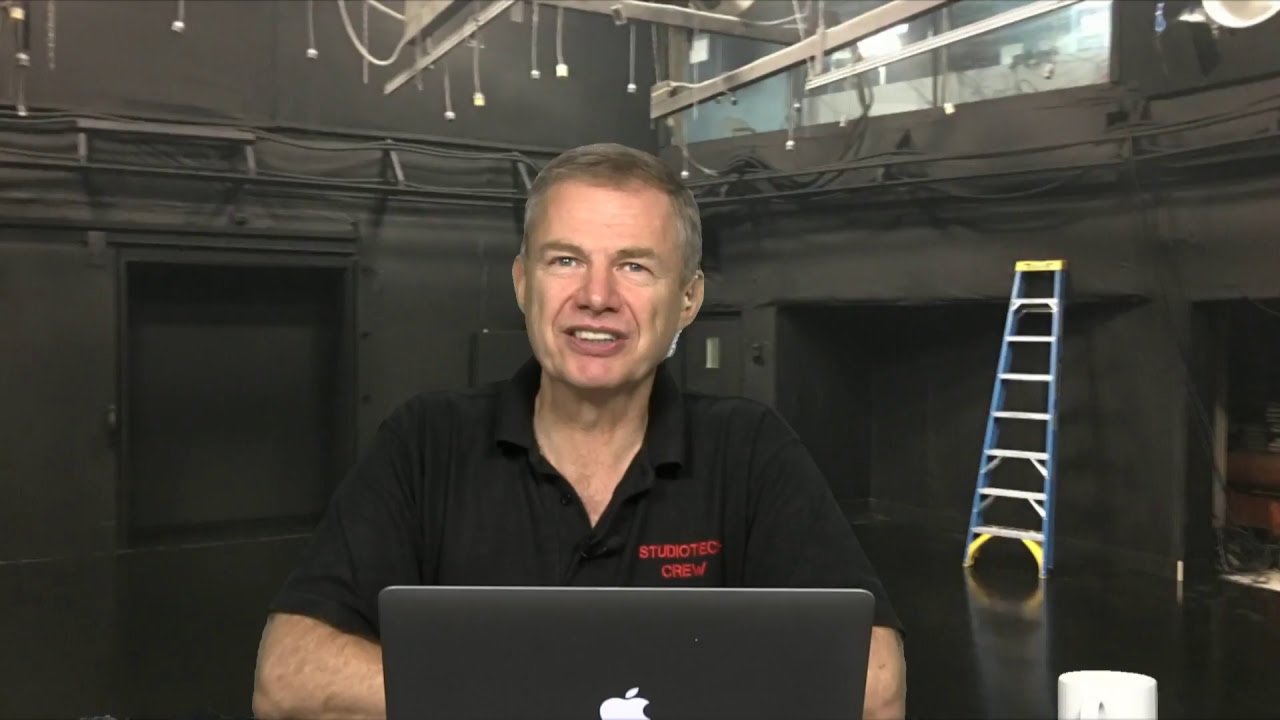
The first question was about backgrounds and what could be used to create a good image. This is so important and have lost count of the number of people who pay little attention to the background in their video. There are many classic mistakes – having a window (or other bright light source) in the background, having doorways through which people pass, displaying an untidy room…… I could go on. My top three tips are:
1/ The background says a lot about you – take the time to get it right. A little time can result in a much better picture and image (both actual and personal!). Frequently just moving your position in the room can make a big difference.
2/ If you do not have a suitable background in the room then use a backdrop of some sort. If possible create one from props or if this isn’t possible then material hung over a simple frame can work well, but make sure there is a contrast between you and the background.
3/ Think about lighting….
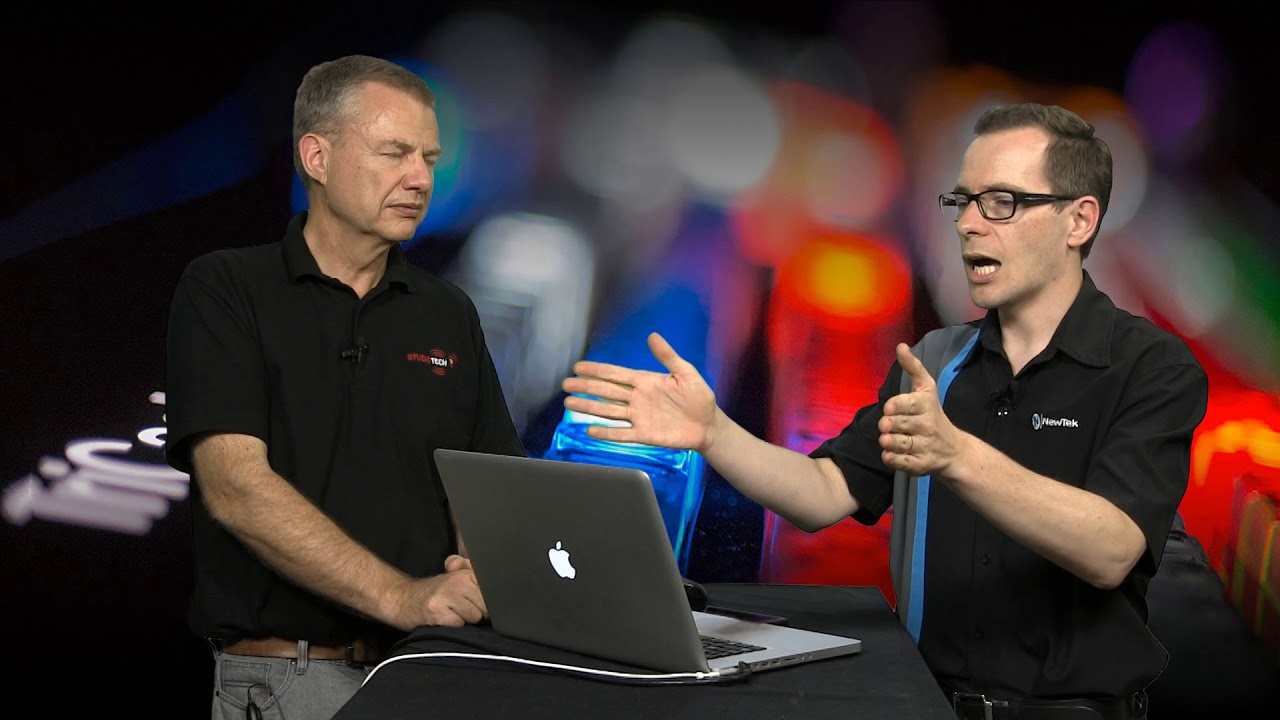
The second question was on lighting and what would we recommend. This of course depends on budget! But assuming this is a start-up project and you want to minimise costs then we would suggest buying some daylight (colour temperature around 5400K) compact fluorescent bulbs and using these in either light fittings/lamps you have or buying cheap (as we did in the early days) Ikea lights.
In the UK you can buy (search ebay) 105 watt compact fluorescent bulbs for around £20. If you hang a couple of these (or more depending on the area you have to light) from the ceiling and diffuse the light with tissue paper globe lampshades made popular by Habitat years ago (and available from Ikea and elsewhere) this gives a good general video light in the room.
Then you can add some additional lighting to highlight your face (not forgetting a backlight shining on your head from behind to give some depth). Using three point lighting for a face is important but if you are using general lighting as we suggested above then you may be able to just use one or two additional lights.
The trick is to play around with the position until you get the best quality image from your camera. Nothing beats experimentation.
You will of course have to pay attention to the light on the background. In a perfect world the background should be lit independently of the talent, but this means you must have at least 1 -2 metres gap between the background and the talent and this is not always possible!
Using bulbs all of the same colour temperature will make life a lot easier and don’t forget to white balance the camera.
Good luck!